
Terminal Emulator (Tera Term)
A terminal emulator is required to talk to a Sensorbee unit over USB-C. The unit's configuration menus all run through the terminal.
If you don't already have a terminal emulator installed, several free options work well with Sensorbee units:
- ·Tera Term (Windows) — Sensorbee's reference recommendation; the rest of this page walks through it.
- ·CoolTerm (Windows / macOS / Linux) — cross-platform alternative.
Install Tera Term
Download
The latest version: osdn.net/projects/ttssh2/releases.
If that URL is unavailable, mirror sites carry the same installer.
Run the installer
Double-click the downloaded installer. Most steps are click-Next; the steps below highlight the bits worth paying attention to.
Accept licence agreement. Select "I accept the agreement" before clicking Next.
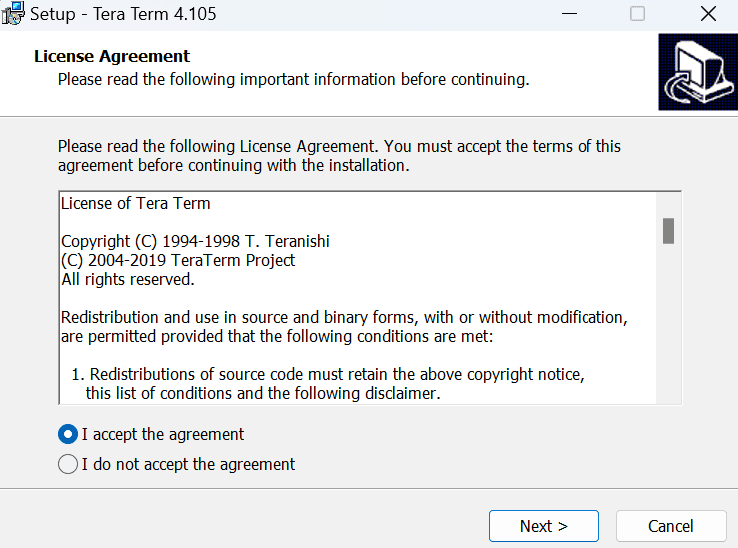
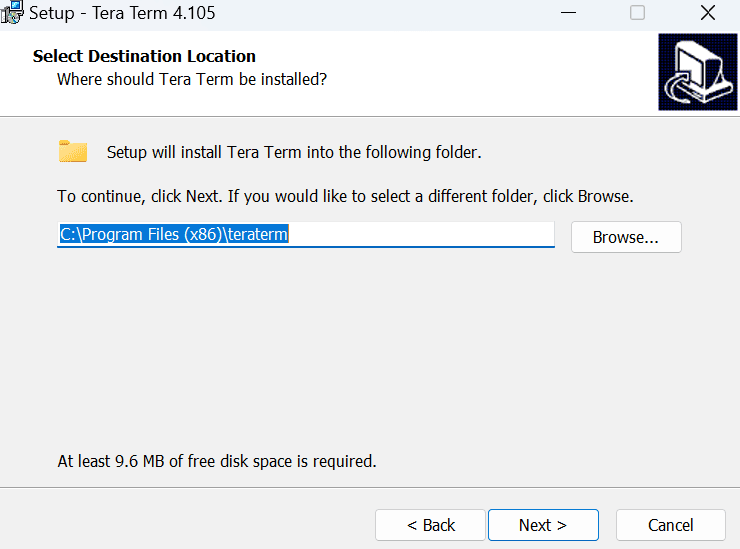
Destination location.
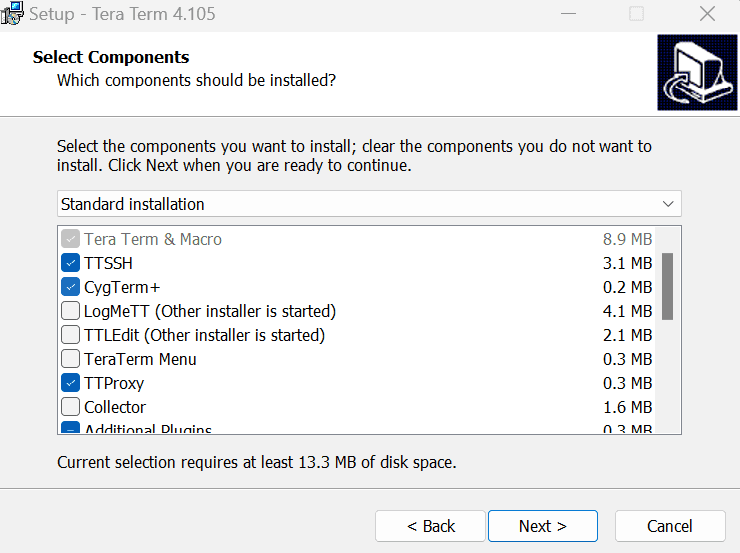
Components.
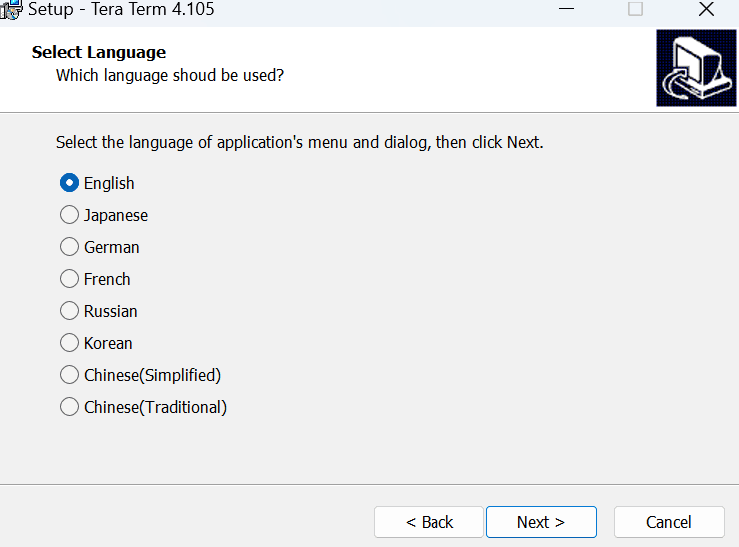
Language.
Start menu folder. Tick or untick the "create Start Menu folder" option as you prefer.
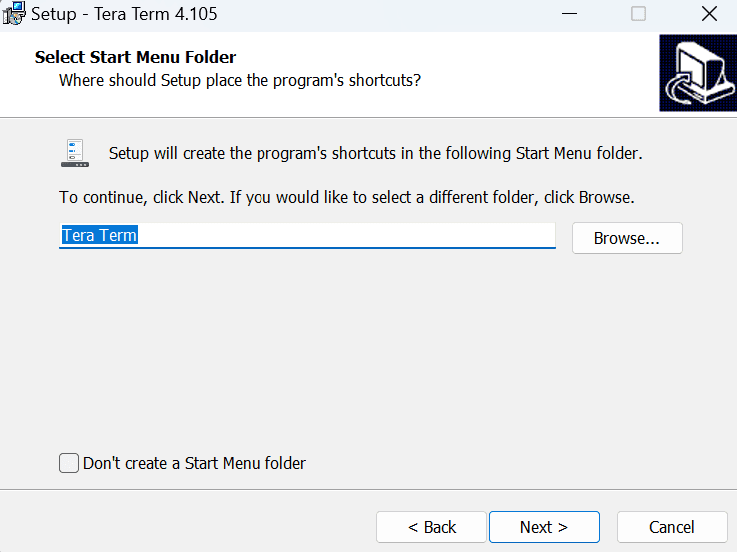
Additional tasks.
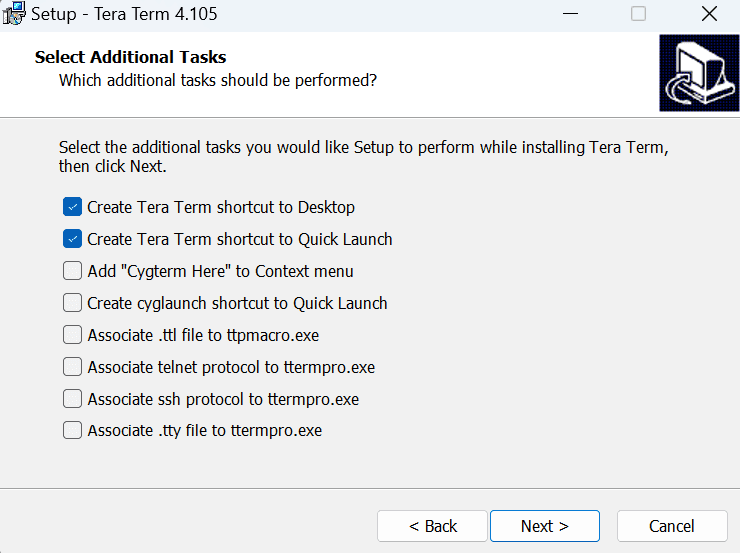
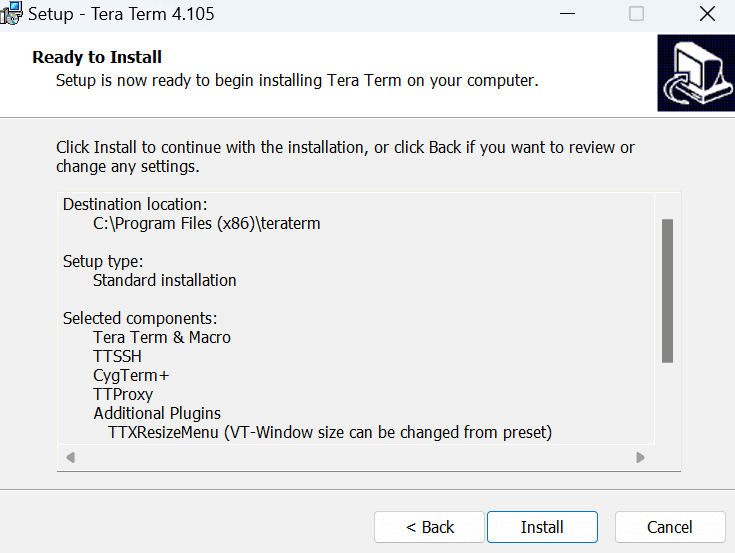
Ready to install. Click Install.
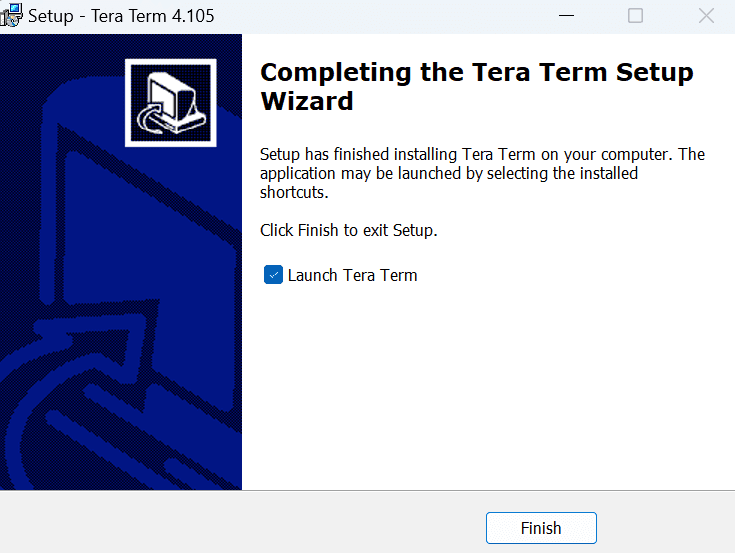
Finish. Tick "Launch Tera Term" before clicking Finish.
Connect to the unit
Tera Term opens with the New connection dialog. (If it doesn't, open it from File → New connection.)
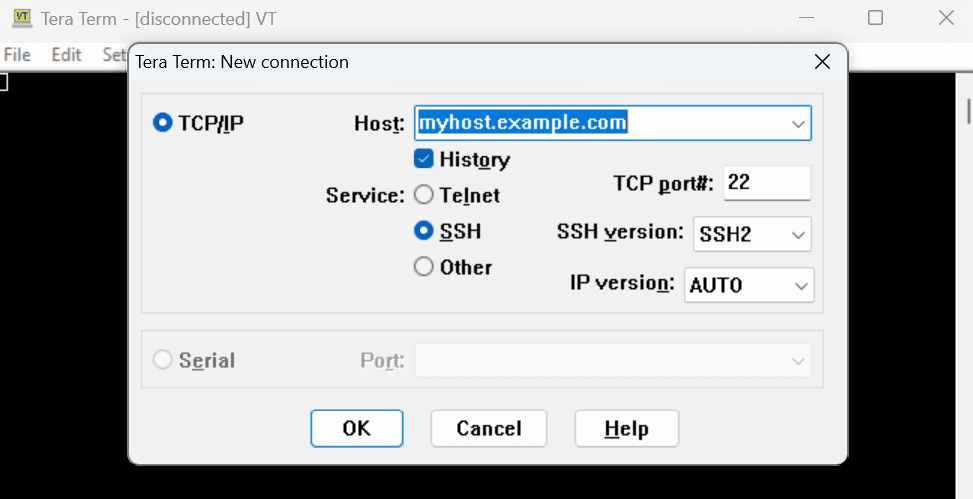
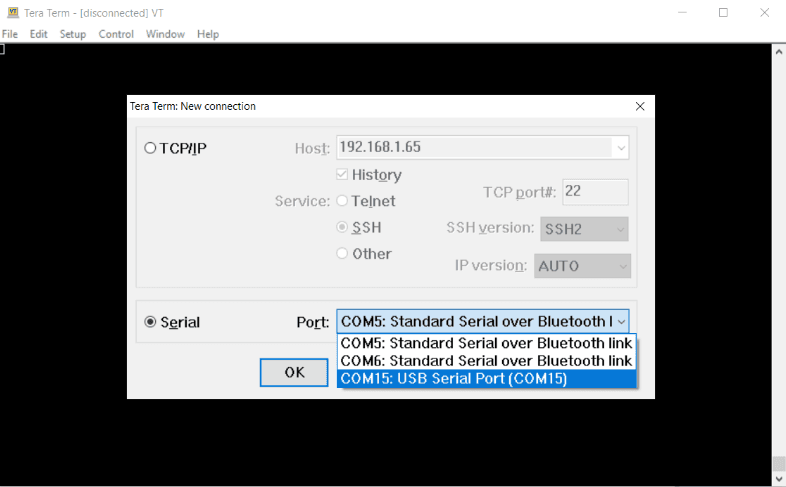
- Click Serial.
- Pick the USB Serial Port for the Sensorbee unit from the COM-port dropdown.
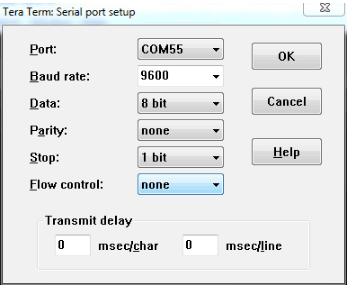
The Serial Port Setup dialog opens. The Sensorbee defaults are:
- ·Baud rate — 9600 bps
- ·Data / parity / stop — 8-N-1
Click OK.
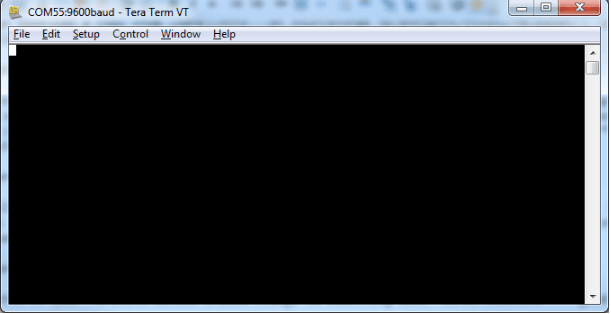
The window title changes from Disconnected to something like COM3 — 9600. You're connected.
You're now ready to walk through the configuration. See Connecting & Configuring via USB-C for the Air Pro 2, or the Air Lite equivalent.