
Replace EnviroSense Module
The EnviroSense module (temperature, humidity and pressure) in a Sensorbee Air Pro 2 can be replaced in the field in a few minutes. Use this procedure when Sensorbee Support has confirmed that the module must be replaced, or when a scheduled module swap is due.
This page follows the Sensorbee service instruction Exchanging the Envirosense and Particle Sensor Modules (Rev. 1). Download the PDF guide for a printable version with photos.
Before you start
You will need the following.
- ·The new EnviroSense module, still in its packaging
- ·A Torx T10 screwdriver for the 8 enclosure screws
- ·A flat screwdriver for the EnviroSense module itself
- ·The unit's serial number, to quote when contacting Sensorbee afterwards
Turn the device off before you start and keep it off during the whole exchange. Never unplug or plug in a module while the device is on.
Work in a dry place — do not open the unit in rain or high humidity. Hold the module by its edges and do not touch the sensor openings. Keep the old module: it may need to be returned to Sensorbee.
The enclosure screws are stainless Torx T10 screws in plastic. Read Screw handling before opening the unit — the plastic thread strips before the screw breaks.
1. Turn off the device
Keep it off during the whole exchange.
2. Open the enclosure
Remove the 8 enclosure screws with the Torx T10 screwdriver.
3. Locate the EnviroSense module
The EnviroSense module is the round, threaded module (M20) in the centre of the circuit board in the lid, with its cable running to a connector on the board.
4. Unplug the EnviroSense cable
Unplug the EnviroSense cable from the board.
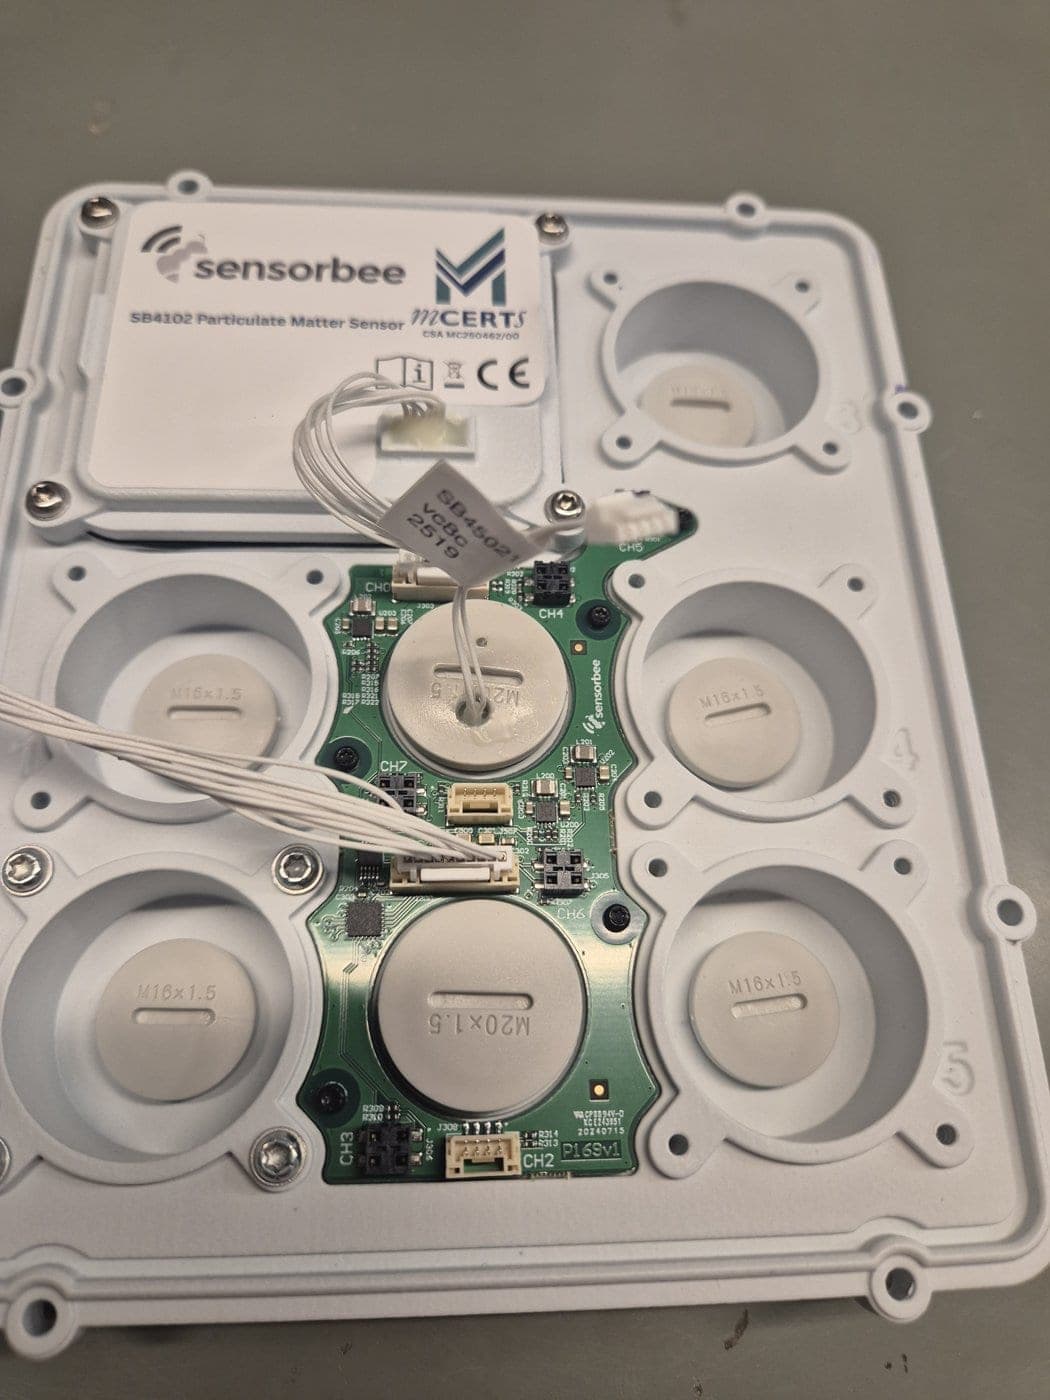
5. Unscrew the module
Put the flat screwdriver in the slot of the module and turn it anticlockwise to unscrew it.
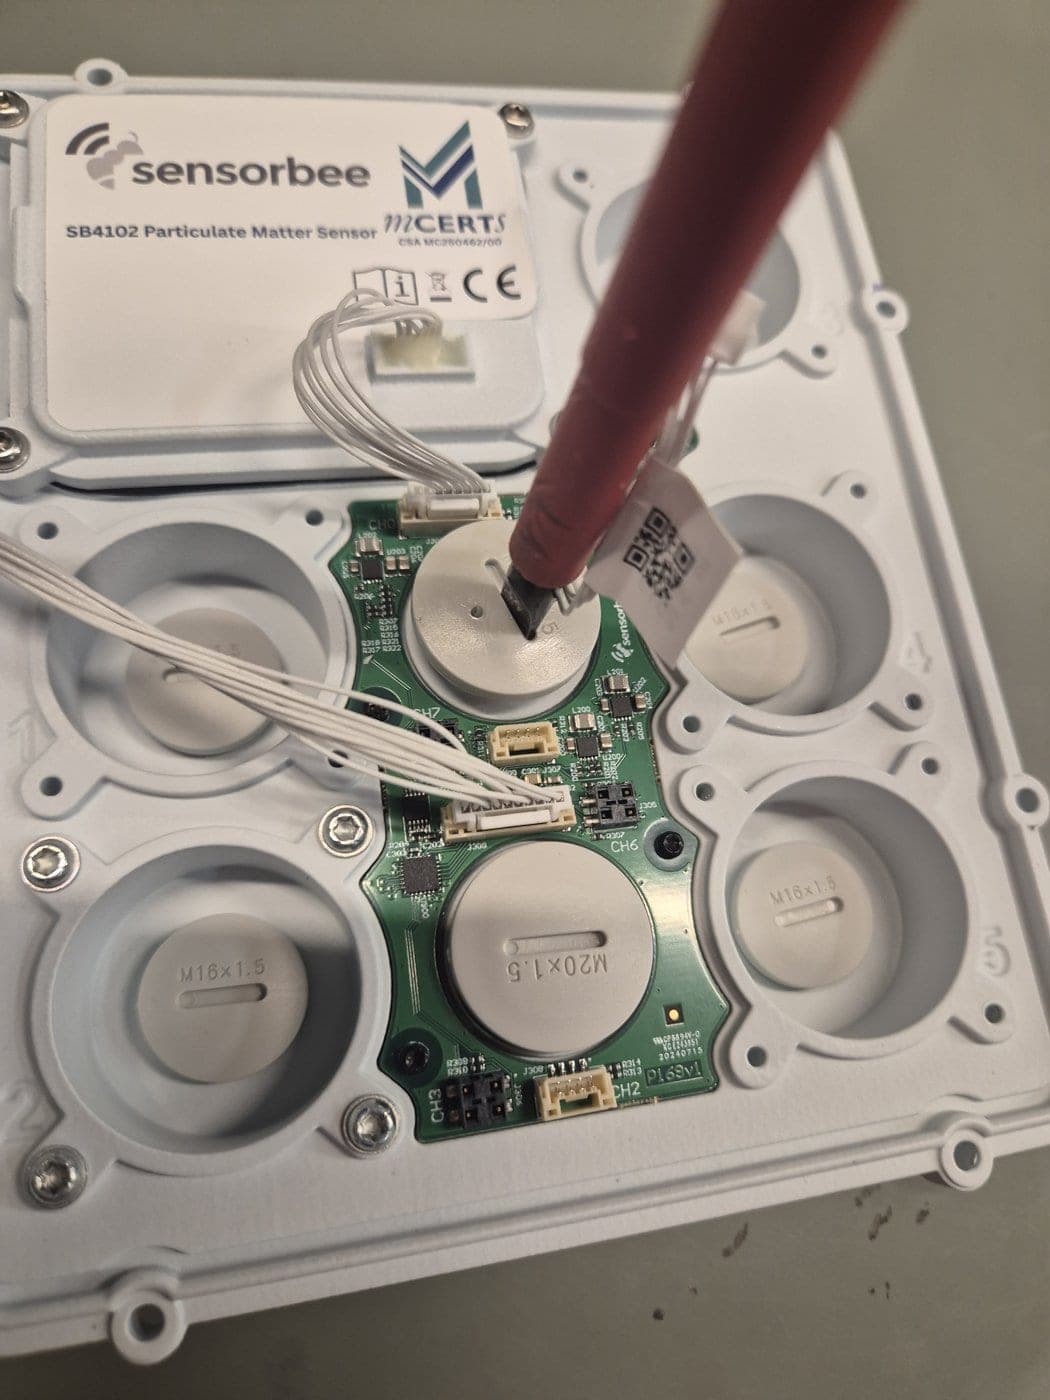
6. Remove the old module
Remove the old module from the lid.
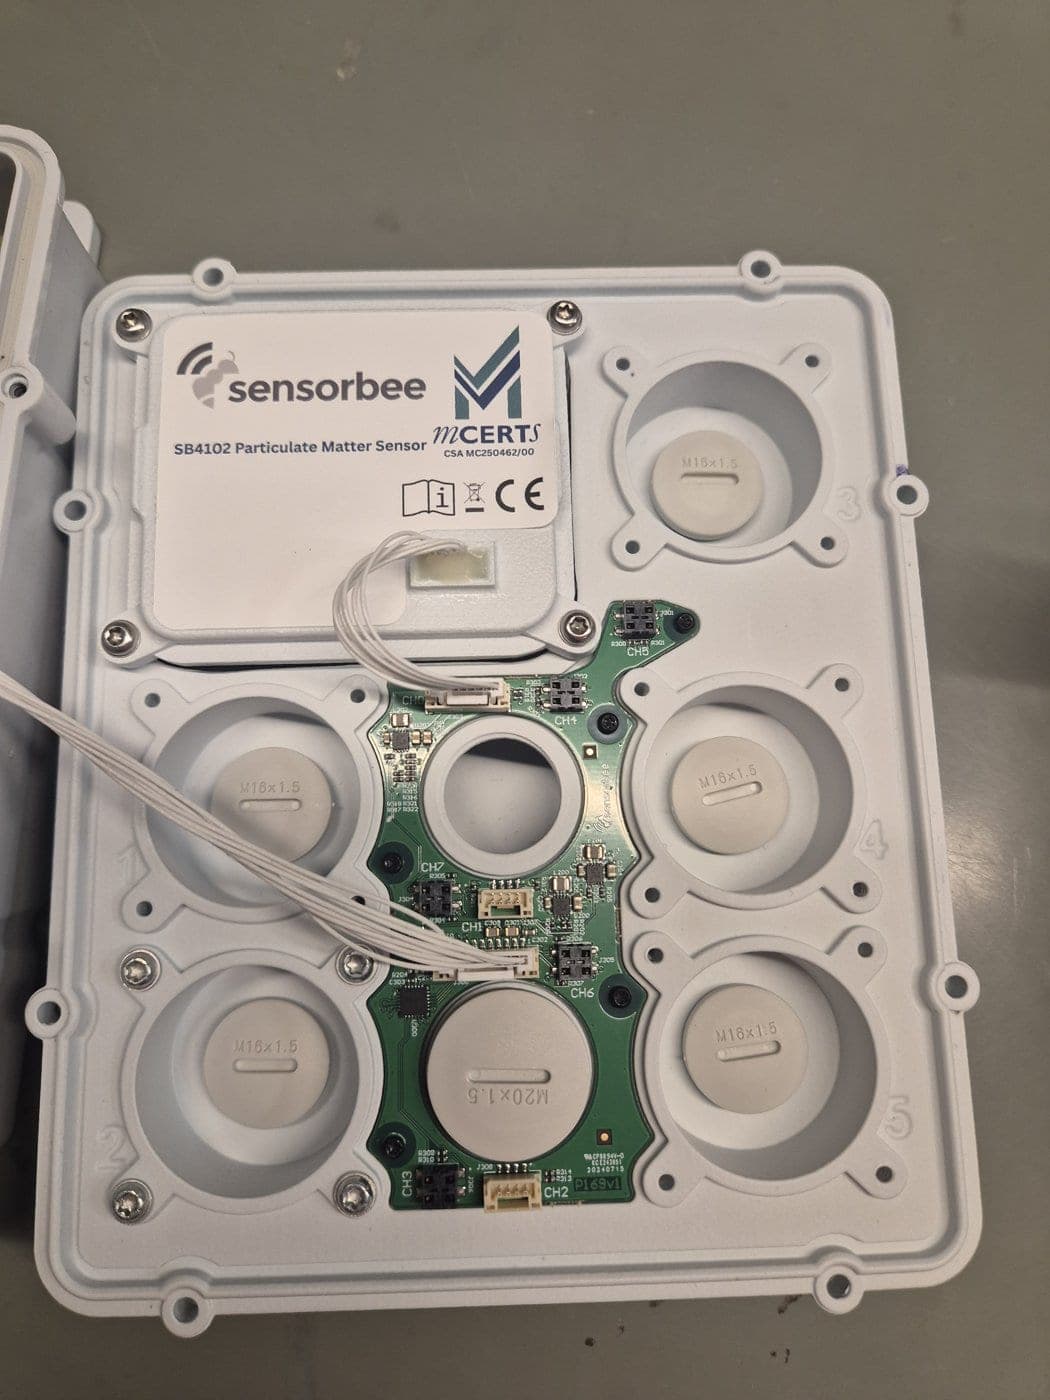
7. Fit the new module
Insert the new EnviroSense module and screw it in clockwise with the flat screwdriver until it is snug. Do not overtighten.
8. Reconnect the cable
Plug the EnviroSense cable back into the same connector on the board.
9. Close the enclosure
Close the Air Pro 2 and fasten the 8 enclosure screws with the T10 screwdriver. First turn each screw anticlockwise by hand until it drops into the existing thread, then tighten to 0.4–0.6 Nm.
10. Restart the device
Power the unit back on.
11. Verify connectivity
Check in the platform that the device is online and that data from the new EnviroSense module is arriving. Then contact Sensorbee to exchange the old module, quoting the unit's serial number.